Introduction
Let’s be real: being a student often means juggling late-night study sessions, tight budgets, and the eternal question, “What’s for dinner?” Fast food may be tempting, but it drains your wallet and your energy. That’s where food saver meal prep comes in – a smart, budget-friendly way to cook once, eat all week, and keep your food fresh way longer. With the help of a vacuum sealer (a food saver), you can store meals like a pro, save serious money, and avoid tossing spoiled leftovers.
This guide will show you everything: how to meal prep with a food saver, what recipes actually work, and some smart hacks to make your student life easier (and tastier).
Table of Contents
Why Food Saver Meal Prep is a Game-Changer for Students
If you’ve ever meal prepped before, you know the struggle: by day 3, the food doesn’t taste as fresh, and by day 5, it’s questionable at best. Vacuum sealing changes the game.
Benefits of food saver meal prep for students:
- Save money: Buy in bulk, cook once, and portion meals without waste.
- Stay healthy: Skip the vending machine — your balanced meals are ready to go.
- Save time: Less daily cooking = more time for studying (or Netflix, no judgment).
- Reduce food waste: Vacuum-sealed meals last up to 5x longer than regular storage.
For more student hacks, check out this complete guide on Meal Prep for College Students.
Getting Started: What You Need
Before you dive in, here’s what you’ll need:
- Food saver (vacuum sealer) – Brands like FoodSaver, Nesco, or NutriChef are affordable and student-friendly.
- Vacuum seal bags or rolls – Reusable or disposable, depending on your budget.
- Meal prep containers – For portioning before sealing.
- Basic cooking gear – Pots, pans, cutting board, knife.
💡 Pro tip: Many universities have discount programs for kitchen gear — check your student perks before buying!
Step-by-Step Food Saver Meal Prep Guide
- Plan your meals – Pick 2–3 easy recipes you can rotate through the week.
- Cook in batches – Prepare a large quantity of protein (chicken, beans, tofu) and sides (rice, veggies).
- Portion meals – Divide into balanced servings (protein + carb + veggies).
- Vacuum seal – Place portions into bags, seal, and label with date + meal name.
- Store properly – Keep in the fridge for up to a week, or freeze for 2–3 months.
Student-Friendly Recipes for Food Saver Meal Prep
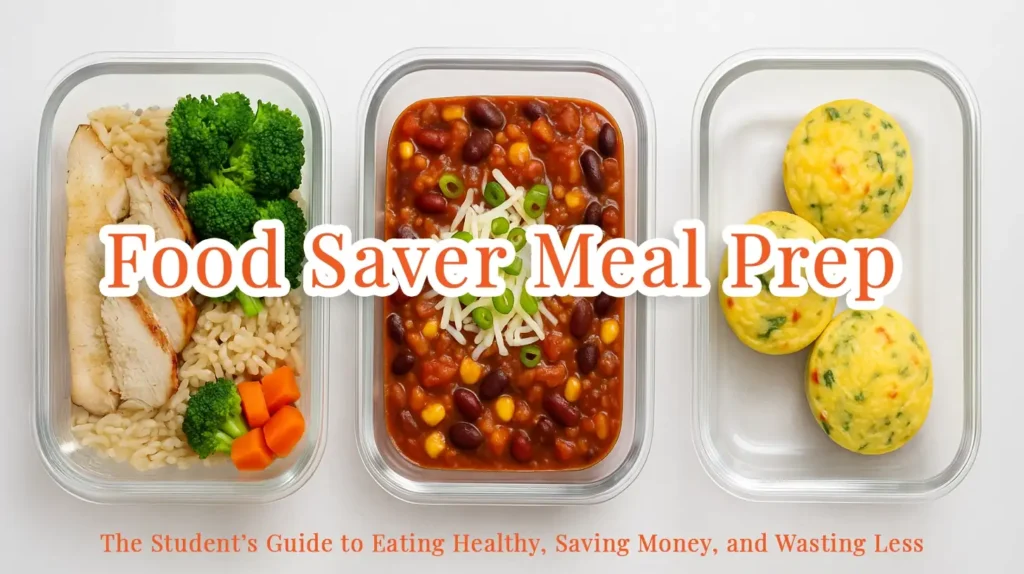
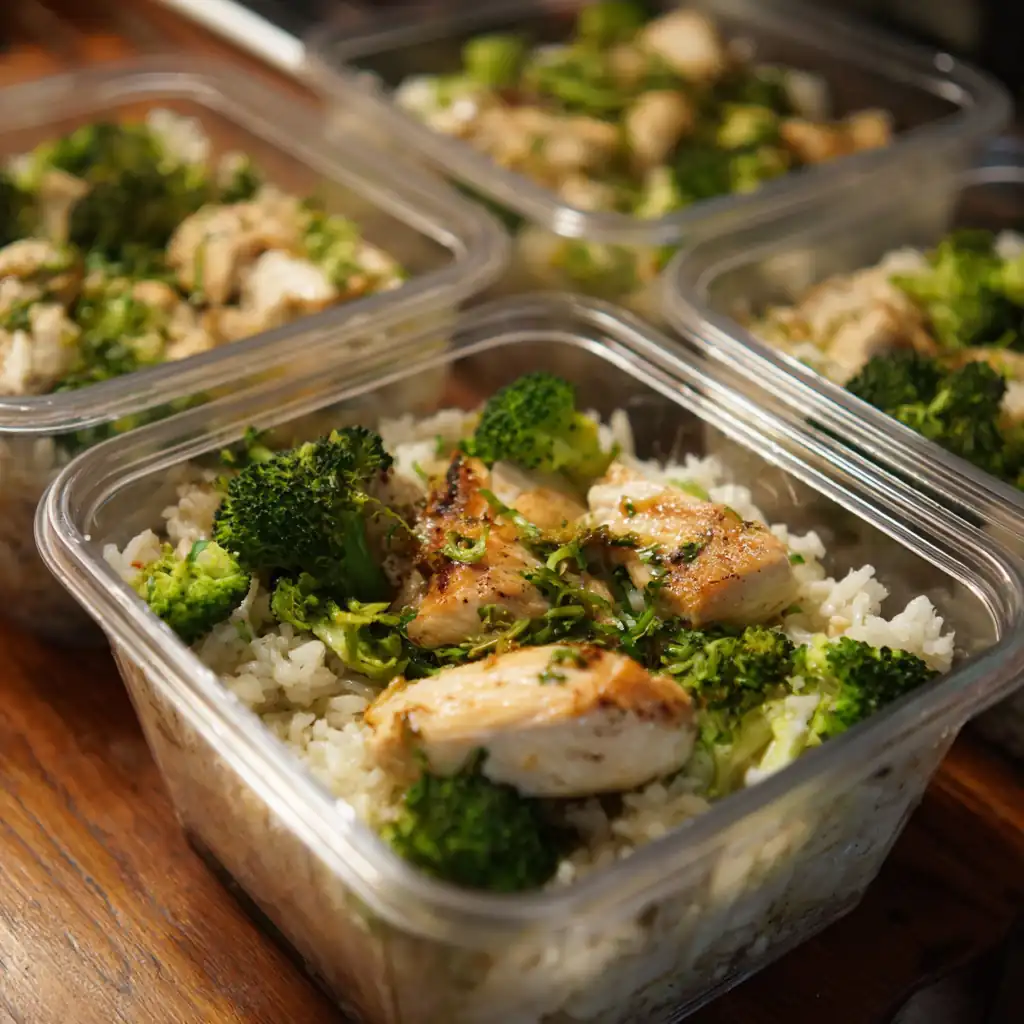
Chicken and Rice Bowls

- Ingredients: Chicken breast, brown rice, broccoli, soy sauce, sesame oil.
- Method: Cook chicken and rice, steam broccoli, combine in portions, drizzle with sauce, then vacuum seal.
- Storage: 5–6 days in fridge, 2 months in freezer.
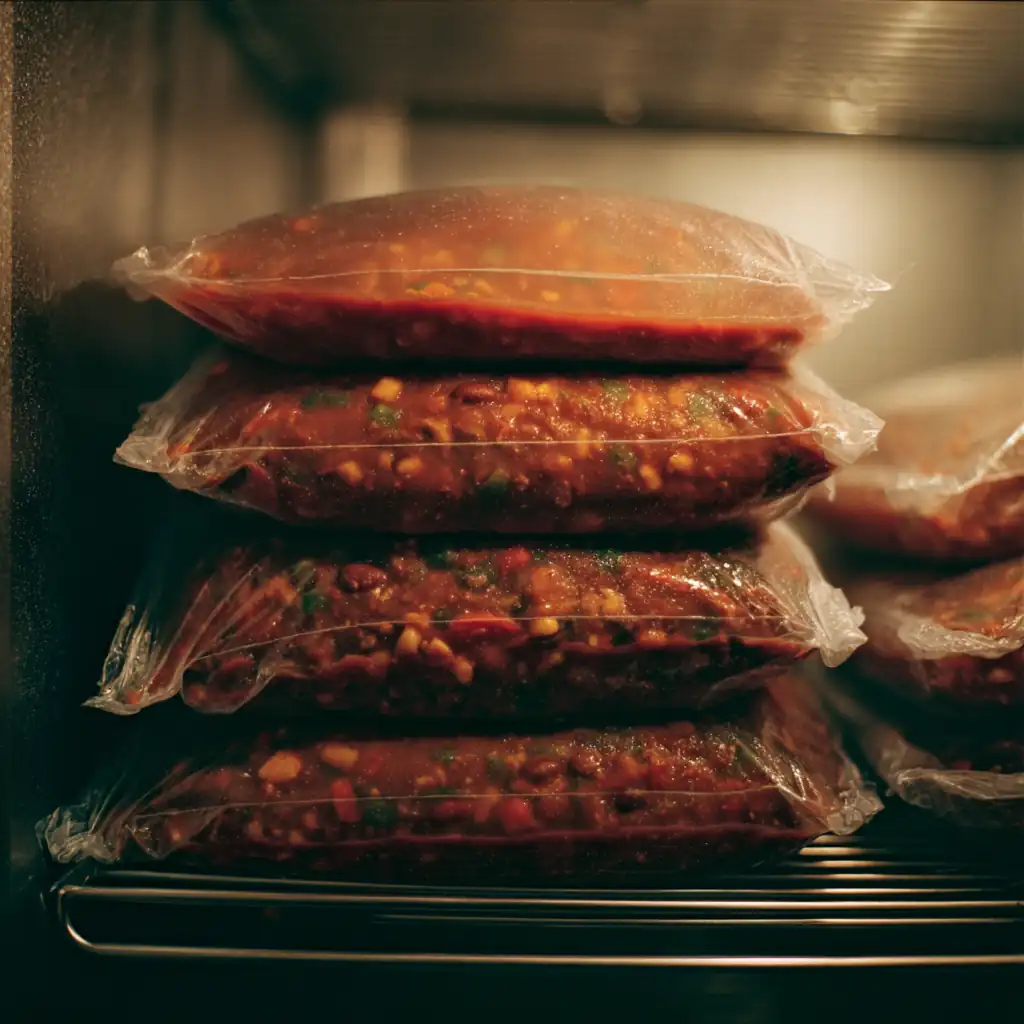
Vegetarian Chili

- Ingredients: Canned beans, tomatoes, bell peppers, corn, chili powder.
- Method: Simmer everything in a pot, let cool, portion into bags, vacuum seal.
- Storage: 7 days in fridge, 3 months in freezer.
If you love plant-based options, don’t miss these Vegan Meal Prep Ideas.
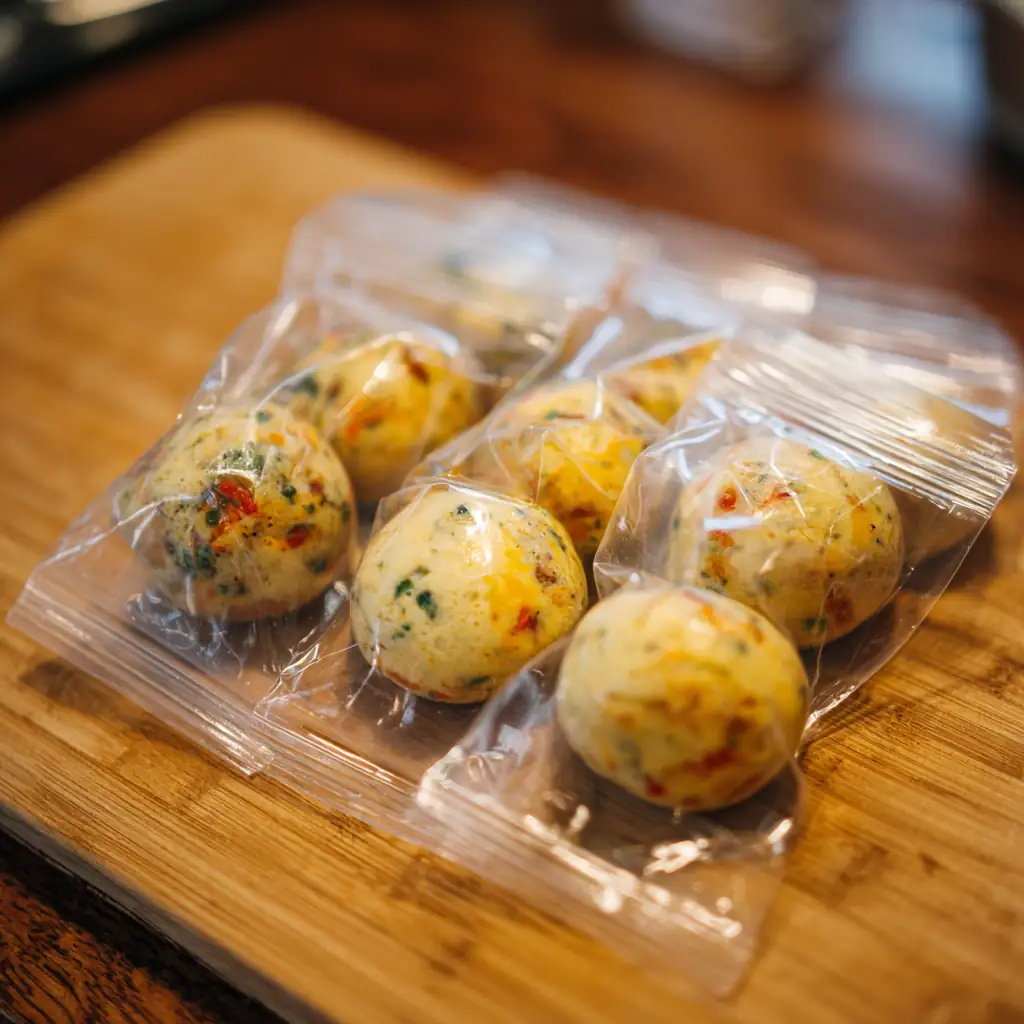
Breakfast Egg Bites

- Ingredients: Eggs, spinach, cheese, peppers.
- Method: Whisk eggs, stir in veggies/cheese, bake in muffin tin, cool, vacuum seal.
- Storage: 5 days in fridge, 1 month in freezer.
Tips for Maximizing Freshness and Saving Money
- Freeze in flat bags: Saves space in small dorm freezers.
- Label clearly: Nothing worse than “mystery bag” meals.
- Seal leftovers: Don’t toss pizza or cooked pasta – seal it!
- Batch cook with roommates: Share costs and fridge space.
- Use bulk discounts: Buy chicken, rice, beans in big packs.
Common Mistakes to Avoid
- Sealing hot food: Always let meals cool before sealing.
- Overfilling bags: Leave space for proper sealing.
- Skipping labels: Trust me, after two weeks, you won’t remember what’s inside.
- Forgetting to rotate meals: Use older meals first (FIFO: First In, First Out).
FAQ: Food Saver Meal Prep
How long do vacuum-sealed meals last?
In the fridge: 5–7 days. In the freezer: up to 3 months.
Can I vacuum seal raw ingredients?
Yes! Seal raw chicken, fish, or veggies for later cooking.
Do I need to defrost sealed meals before reheating?
Not always – many can go straight from freezer to microwave or boiling water.
Is a food saver worth it for students?
Absolutely. It pays for itself within weeks by reducing waste and food costs.
Conclusion
Food saver meal prep is more than just a kitchen hack – it’s a survival skill for students. With a little planning, you’ll eat healthier, save serious money, and finally stop tossing half-used groceries in the trash. Whether you’re sealing chicken rice bowls, vegetarian chili, or grab-and-go egg bites, your fridge will always be stocked with meals that taste fresh and keep you energized.
👉 Ready to try it? Grab a vacuum sealer, pick your recipes, and start prepping today! For more inspiration, check out these 25 Easy College Recipes.
