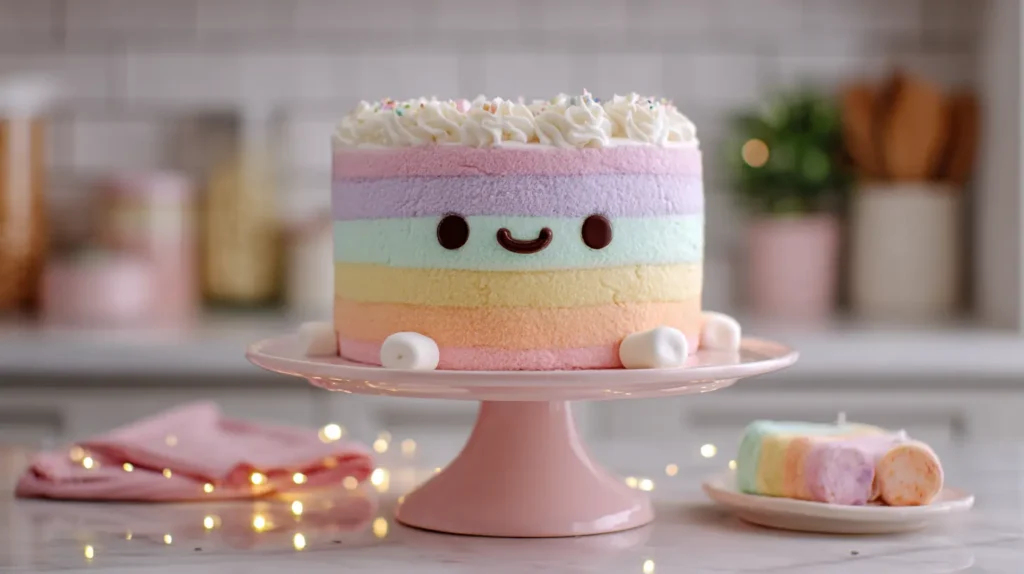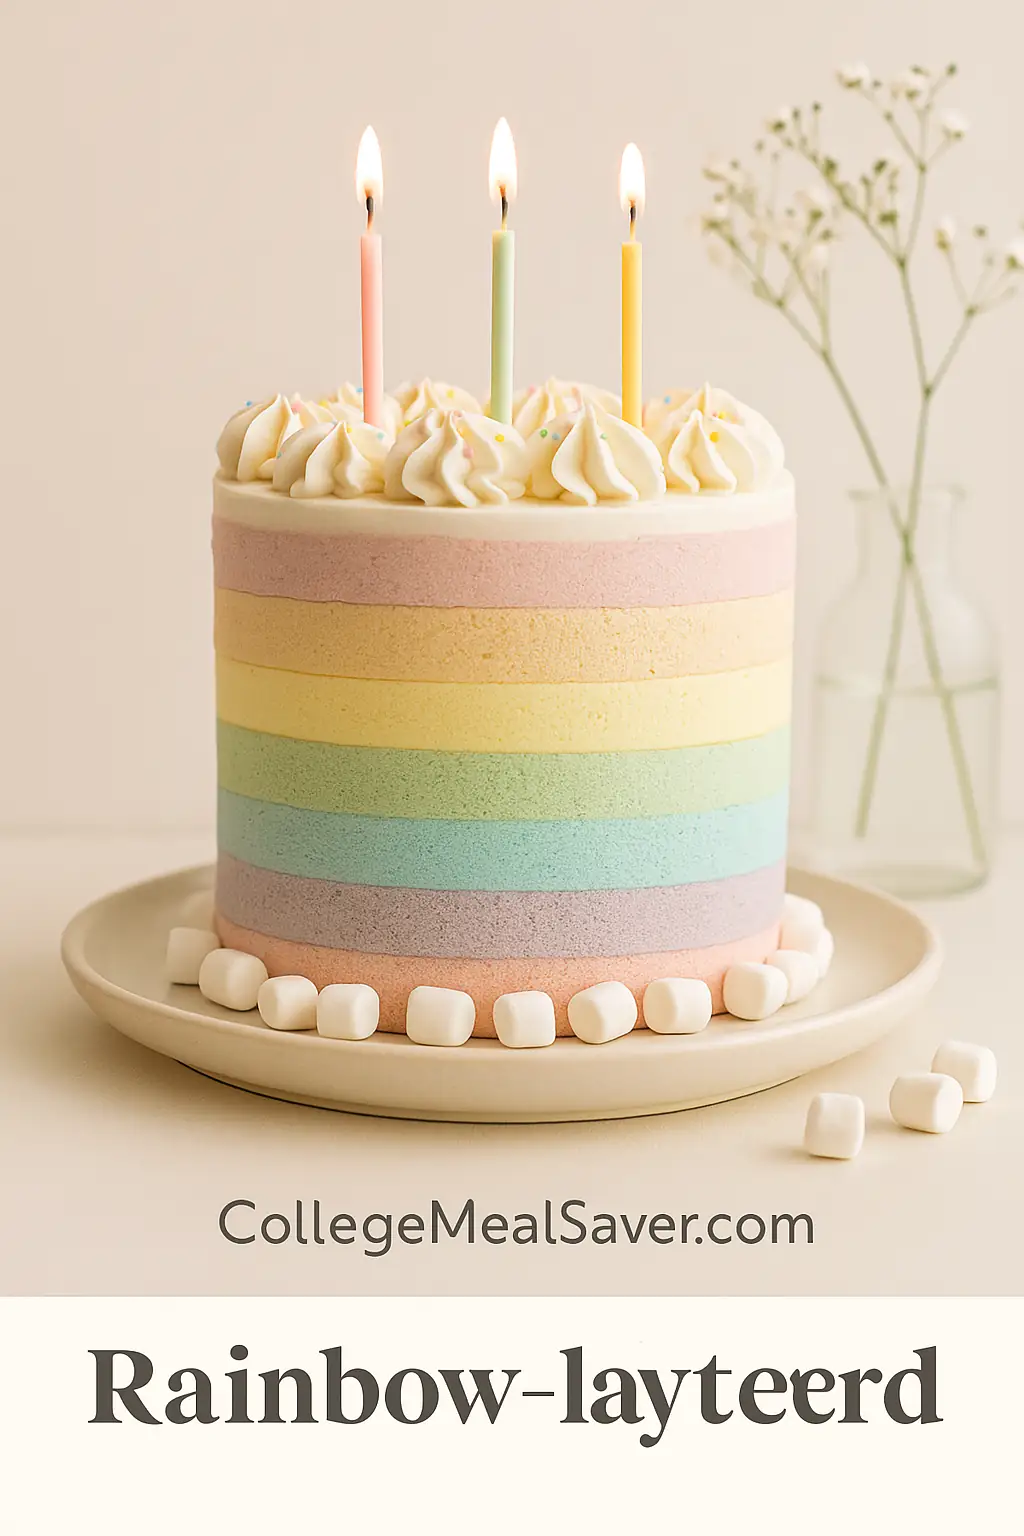
Make a Rainbow Jellycat Birthday Cake Recipe that’s colorful, tasty, and inspired by the plush toy. A perfect dessert for dorms and birthdays! inspired by the bright, smiley Amuseables Rainbow Birthday Cake from Jellycat. This pastel-layered treat is not only visually stunning, but soft, light, and perfect for birthdays, dorm parties, or any moment that calls for cake and cuteness.
This version brings the beloved plush to life with airy sponge layers in rainbow colors, whipped vanilla frosting, and a big happy smile made of chocolate.
Why You’ll Love This Rainbow Cake
- 🌈 Vibrant Layers – Each slice reveals a soft pastel rainbow
- 🧁 Plush-Inspired Design – Styled after the Jellycat rainbow birthday cake plush
- 📸 Instagram-Ready – Beautiful to slice, serve, and share
- 🎉 Perfect for Celebrations – Birthdays, pride events, or themed dorm nights
Ingredients
For the Rainbow Sponge Cake (6 layers):
- 6 large eggs (room temperature)
- 180g granulated sugar
- 180g cake flour or all-purpose flour (sifted)
- 1 tsp vanilla extract
- 1/4 tsp salt
- Gel food coloring: red, orange, yellow, green, blue, purple
For the Vanilla Whipped Frosting:
- 500ml heavy cream (cold)
- 4 tbsp powdered sugar
- 2 tsp vanilla extract
- Optional: pastel gel colors for frosting accents
Decoration:
- Melted dark or milk chocolate (for the face)
- Mini marshmallows or fondant feet
- 3 mini birthday candles (or fondant versions)
How to Make the Rainbow Jellycat Cake
Step 1: Bake the Sponge Layers
- Preheat oven to 170°C (340°F).
- In a bowl, beat eggs and sugar until light and fluffy (about 7–8 minutes).
- Add vanilla and gently fold in flour and salt.
- Divide batter evenly into 6 bowls.
- Tint each bowl with a different gel color: red, orange, yellow, green, blue, purple.
- Pour into 6-inch greased cake pans (or bake in batches).
- Bake each layer for about 12–15 minutes. Let cool completely.
Step 2: Prepare the Whipped Vanilla Frosting
- In a cold bowl, beat cream, powdered sugar, and vanilla until stiff peaks form.
- Optionally divide a small portion and tint pastel pink, blue, or lavender.
Step 3: Assemble the Cake
- Layer cakes in rainbow order with frosting between each.
- Frost the outside with whipped cream.
- Smooth into a rounded dome like the Jellycat plush.
- Add facial features with melted chocolate.
- Decorate with mini candles on top and marshmallow feet at the base.
Decoration Tips to Match the Plush
- 🎨 Use round piping for a cartoon-like effect
- 🕯️ Add 3 soft pastel candles to mimic the plush toy
- 😊 Pipe on the eyes and smile using a piping bag or toothpick dipped in chocolate
- 🧸 Use small fondant ovals for plush feet on the cake board
Want it even more realistic? Place your Jellycat Rainbow Birthday Cake plush right next to the real one!

🎂 More Jellycat-Inspired Recipes You’ll Love:
- 🍓 Strawberry Jellycat Birthday Cake
- 🍫 Chocolate Jellycat Cake Recipe
- 🧁 Bake the Bunny Plush Cake
- 🎁 Read the Full Jellycat Birthday Cake Gift Guide
FAQs – Rainbow Jellycat Cake Recipe
Can I use buttercream instead of whipped cream?
Yes! Use a light vanilla or Swiss meringue buttercream for more stability.
Is gel food coloring necessary?
Yes, for vivid colors without adding too much liquid to the batter.
Can I bake the cake ahead of time?
Yes. Sponge layers can be baked and frozen for up to 2 weeks. Frost before serving.
What size should the cake be?
6-inch rounds work best to match the plush proportions.
Final Thoughts
This Rainbow Jellycat Birthday Cake is the perfect edible celebration of joy, color, and plush-inspired creativity. Whether you’re throwing a birthday bash, celebrating Pride Month, or just want to surprise your dorm with something adorable this cake delivers.
Pair it with the actual plush for double the smiles!
