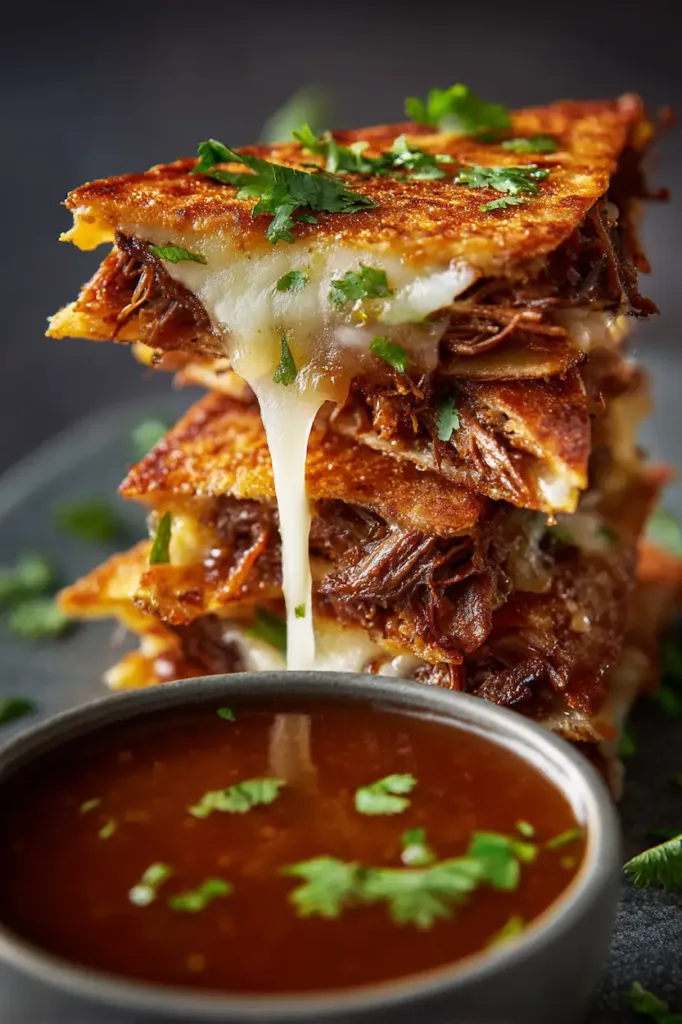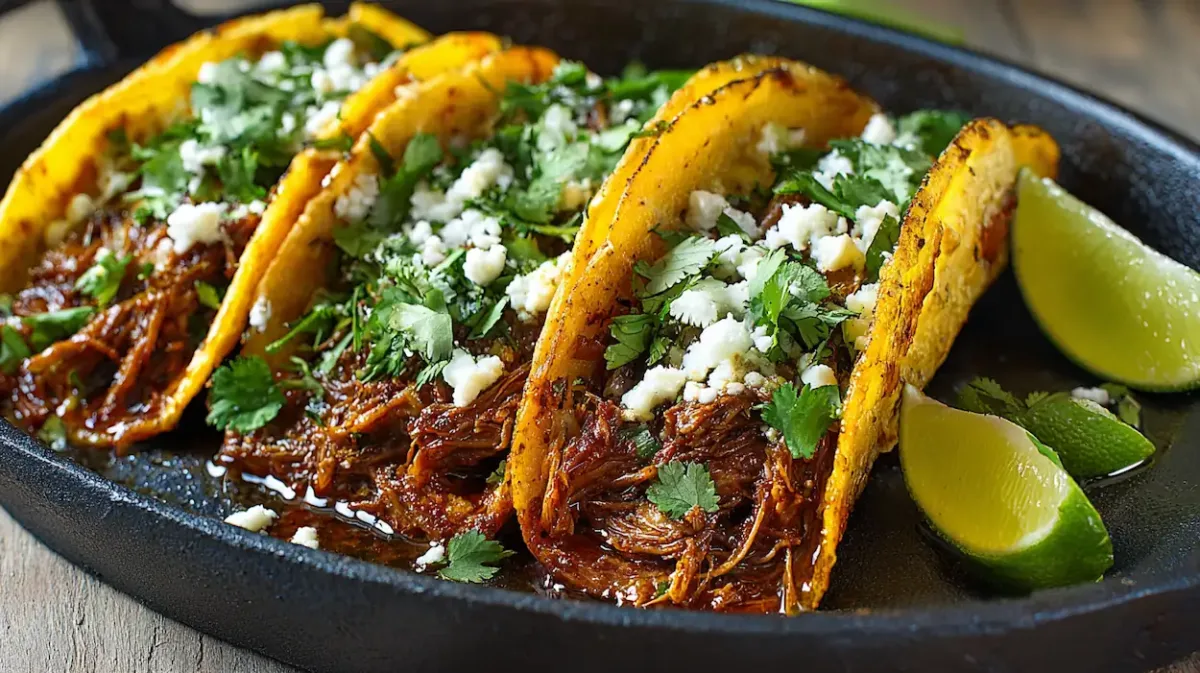
Homemade Birria Tacos

best Homemade Birria Tacos

Why College Students Are Obsessed With Homemade Birria Tacos

If you’re a student in the U.S. trying to eat well on a budget (and stay sane between classes), Homemade Birria Tacos might become your new weekly ritual. Maybe you’ve seen them on TikTok — the crispy tortillas dipped in red consommé, the melty cheese stretch, the juicy beef falling apart like pulled pork with a passport.

I still remember the first time I made Birria Tacos in my tiny dorm kitchen. My roommate walked in, took one sniff, and went, “Bro… is this a restaurant now?” We ate the whole batch on the floor because we didn’t even own chairs.

And that’s the magic of Homemade Birria Tacos — they feel like a feast, even when you’re broke, hungry, and using a Dollar Tree pan.

In this guide, we’ll cover everything students need:

  • A cheap shopping list
  • A no-fuss step-by-step recipe
  • Hacks to make it faster
  • Dorm-friendly swaps
  • Storage tips
  • A loaded FAQ (Google People Also Ask inspired)

Let’s get you taco-famous.

Why Students Love Homemade Birria Tacos

Let’s be honest: we students love a meal that:

  • Feeds a crowd
  • Looks gourmet
  • Costs less than takeout
  • Makes good leftovers
  • Works for late-night hunger spikes

Homemade Birria Tacos check every box.

Plus, birria has main character energy. It’s saucy, crispy, cheesy… and yes, you’ll get Instagram messages like “Omg drop recipe??”

Why this recipe is perfect for student life:

  • Cheap cuts of meat become incredibly tender.
  • Makes 8–12 tacos (meal prep gold).
  • You can freeze leftovers.
  • Works great with a slow cooker or stovetop.
  • Minimal chopping = minimal dishes.

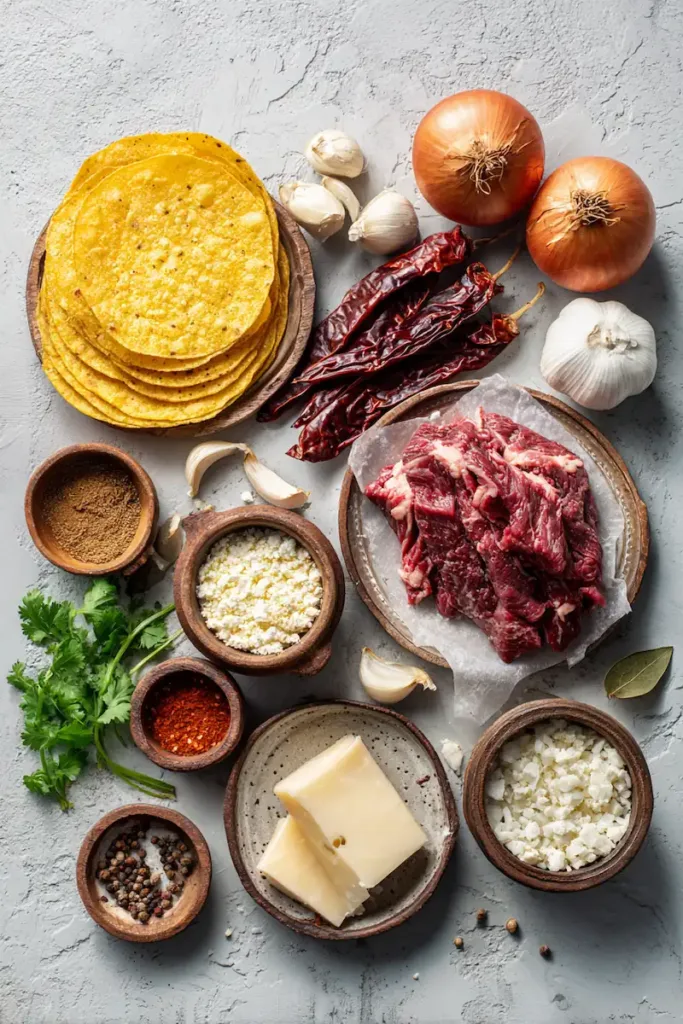
Ingredients for Affordable Homemade Birria Tacos

Let’s keep it budget-friendly.

⭐ Meat Options (choose ONE)

  • Beef chuck roast (best flavor + cheapest)
  • Beef stew meat
  • Pork shoulder (super cheap)
  • Chicken thighs (fast & budget-friendly option)

⭐ For the Birria Sauce (consommé)

  • Dried guajillo peppers
  • Dried ancho peppers
  • Onion
  • Garlic
  • Tomatoes (fresh or canned)
  • Bay leaves
  • Apple cider vinegar
  • Mexican oregano
  • Cinnamon stick (optional but tasty)
  • Beef broth or water

⭐ For the Homemade Birria Tacos

  • Corn tortillas
  • Shredded cheese (Oaxacan, mozzarella, or Monterey Jack)
  • Cilantro
  • Onion
  • Lime
  • Oil for frying
Flatlay of fresh ingredients needed to make Homemade Birria Tacos on a white background.

How to Make Homemade Birria Tacos (Step-by-Step)

You don’t need culinary school. You just need a pot.

STEP 1 — Prep the chiles

Remove stems + seeds from guajillo and ancho peppers.
Soak them in hot water for 10 minutes.

STEP 2 — Blend the sauce

Blend peppers with:

  • Tomato
  • Onion
  • Garlic
  • Vinegar
  • Spices
  • 1 cup broth

Pour this deep red goodness over the meat.

STEP 3 — Cook the birria

You can use:

  • Slow cooker (6 hours high)
  • Stovetop (2.5–3 hours simmer)
  • Instant Pot (45 minutes + natural release)

The meat should fall apart like it’s emotionally overwhelmed.

STEP 4 — Shred the meat

Forks only. No knives needed.

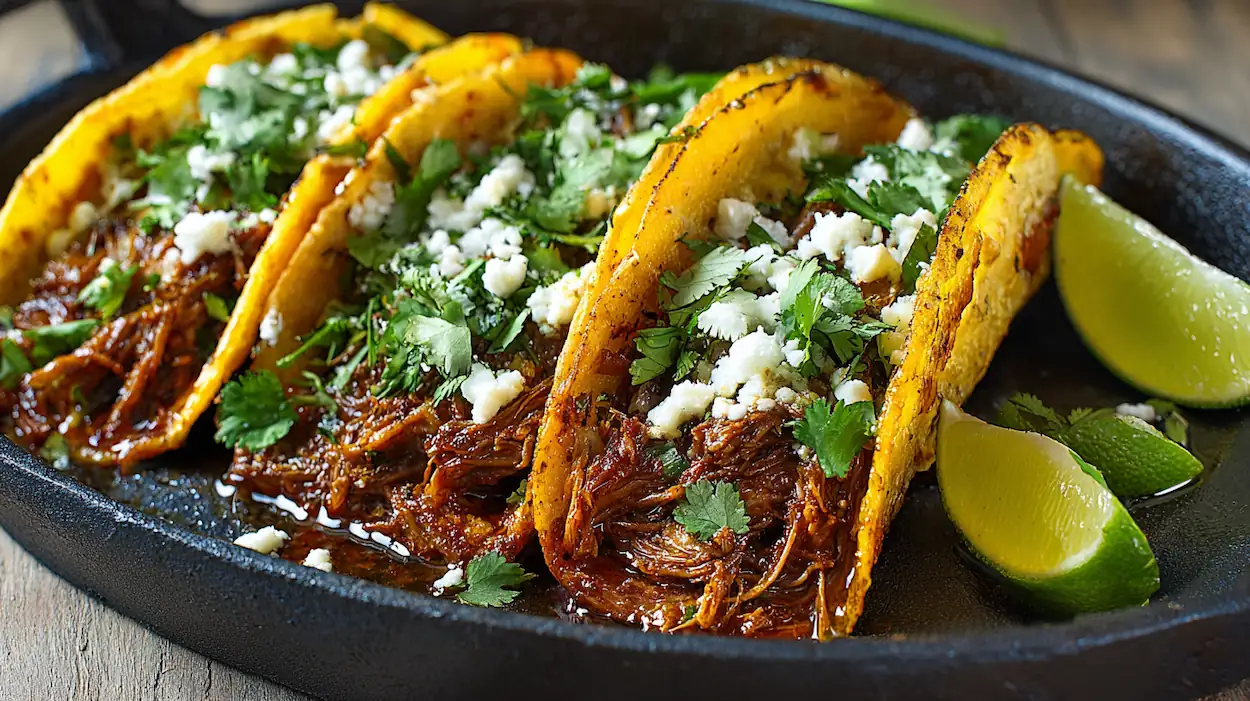
STEP 5 — Fry your Homemade Birria Tacos

Dip tortillas in the birria consommé.
Fill with meat + cheese.
Fry until crisp.

The TikTok crunch? Oh, it’s real.

STEP 6 — Serve hot with consommé for dipping

This makes the meal extra extra.

Birria Consommé: The Magic Sauce

The consommé is the red, oily, flavorful broth leftover from cooking your birria.

It’s what makes Homemade Birria Tacos legendary.

You can use it for:

  • Dipping
  • Ramen birria
  • Nachos
  • Rice bowls
  • Next-day taco soup

Pro tip: students LOVE it as a “hangover recovery soup.” No judgment.

Student-Friendly Birria Hacks

⭐ Hack 1: Use chicken instead of beef

Cuts cooking time by half and saves $$.

⭐ Hack 2: Use jarred salsa if you’re in a dorm

Mix 1 cup red salsa + 1 cup broth + spices → instant birria base.

⭐ Hack 3: Freeze pre-made taco filling

Lasts up to 2 months.

⭐ Hack 4: Add extra cheese for maximum crispiness

Mozzarella melts the best.

This section continues keyword usage: Homemade Birria Tacos.

How to Store & Reheat Homemade Birria Tacos

Storing birria

  • Fridge: 4–5 days
  • Freezer: 2 months

Reheating tacos

  • Air fryer (best method)
  • Pan fry
  • Oven bake

Avoid microwaving unless you love soggy sadness.

Nutrition Breakdown (Approx for 2 tacos)

  • Calories: ~520
  • Protein: 28g
  • Carbs: 35g
  • Fat: 28g
  • Fiber: 4g

FAQ — People Also Ask

1. Are Homemade Birria Tacos hard to make?

Not at all! It’s mostly hands-off cooking. The hardest part is trying not to eat all the tacos at once.

2. What meat is best for Homemade Birria Tacos?

Beef chuck roast — it’s cheap, tender, and shreds beautifully.

3. Can you make birria without dried peppers?

Yes! Blend red salsa + broth + taco seasoning as a shortcut.

4. Do Homemade Birria Tacos freeze well?

Yes — freeze the meat, not the assembled tacos.

5. What cheese is best?

Mozzarella or Monterey Jack for students (cheap + melty).

6. Can I make Birria Tacos vegetarian?

Yes — use mushrooms or jackfruit.

7. Is consommé necessary?

YES. It’s the signature dip.

Conclusion

Whether you’re cooking for your roommates, meal prepping for exam week, or just craving something warm and cheesy, Homemade Birria Tacos are the ultimate student comfort food. They’re cheap, surprisingly easy, and taste like something you’d get from a trendy food truck downtown.

Try this recipe once, and you’ll understand why college kitchens everywhere are turning into late-night birria labs.

u6253788432 Overhead flatlay of Homemade Birria Tacos lined i e4c62e57 5afd 4080 8b90 a4a0ad7a5a7f 0

Homemade Birria Tacos

Juicy, cheesy homemade birria tacos made with tender shredded beef simmered in a rich chili sauce, then fried until crispy and served with consommé for dipping. Perfect for students who want big flavor on a small budget.
Prep Time 25 minutes
Cook Time 2 hours 30 minutes
0 minutes
Total Time 2 hours 55 minutes
Servings: 8 tacos
Course: Main Course
Cuisine: Mexican
Calories: 520

Ingredients
  

  • 2.5 pounds beef chuck roast, cut into large chunks
  • 4 pieces dried guajillo peppers, stemmed and seeded
  • 2 pieces dried ancho peppers, stemmed and seeded
  • 1 medium white onion, quartered (half for sauce, half for serving)
  • 5 cloves garlic, peeled
  • 2 pieces Roma tomatoes, halved (or 1 cup canned diced tomatoes)
  • 2 cups beef broth or water, plus more as needed
  • 2 tablespoons apple cider vinegar
  • 2 teaspoons ground cumin
  • 2 teaspoons dried Mexican oregano (or regular dried oregano)
  • 1 piece bay leaf
  • 1 piece small cinnamon stick (optional)
  • 1 teaspoon salt, plus more to taste
  • 0.5 teaspoon black pepper
  • 16 pieces corn tortillas
  • 2 cups shredded melting cheese (mozzarella or Monterey Jack)
  • 0.5 cup chopped fresh cilantro
  • 2 whole limes, cut into wedges
  • 3 tablespoons neutral oil for frying (such as vegetable or canola oil)

Equipment

  • Large pot or Dutch oven Used to simmer the birria meat in the chili sauce.
  • Blender Needed to blend the chiles, tomatoes, and spices into a smooth sauce.
  • Skillet or frying pan Used to fry the tortillas and crisp the homemade birria tacos.
  • Cutting board and knife For prepping the onion, garlic, cilantro, and meat.
  • Tongs and forks For handling hot tortillas and shredding the cooked beef.

Method
 

  1. Prep the dried chiles: Add the dried guajillo and ancho peppers to a bowl and cover with very hot water. Let them soak for about 10 minutes until softened.
  2. Blend the birria sauce: In a blender, add the softened chiles (stems and seeds removed), half of the onion, garlic cloves, tomatoes, apple cider vinegar, cumin, oregano, salt, pepper, and 1 cup of beef broth. Blend until very smooth. If needed, add a splash more broth so it blends easily.
  3. Season and sear the beef (optional but recommended): Pat the beef chuck dry with paper towels and season lightly with salt and pepper. Heat a large pot or Dutch oven over medium high heat with a little oil and sear the beef chunks on all sides until browned. This adds extra flavor but can be skipped for a faster student version.
  4. Cook the birria: Pour the blended sauce over the beef in the pot. Add the bay leaf, cinnamon stick if using, and the remaining broth. Stir to coat the meat. Bring to a gentle simmer, then cover and cook on low heat for about 2 to 2.5 hours, or until the beef is very tender and shreds easily with a fork. Add small splashes of water or broth if the liquid reduces too much.
  5. Shred the meat and separate the consommé: Remove the beef chunks from the pot and shred them with two forks. Skim excess fat from the top of the cooking liquid if you like, then taste and adjust the seasoning with more salt if needed. This flavorful liquid is your birria consommé for dipping and for frying the tortillas.
  6. Assemble the tacos: Heat a skillet over medium heat and add a thin layer of oil. Working one tortilla at a time, dip it into the top layer of the warm consommé so it picks up some of the red fat and color. Lay the tortilla in the skillet, sprinkle one side with shredded cheese, add some shredded birria meat, and fold it over like a quesadilla.
  7. Crisp the homemade birria tacos: Cook the folded tacos for 2 to 3 minutes per side, until the tortilla is crispy and golden and the cheese is melted. Repeat with the remaining tortillas, adding more oil as needed. Keep finished tacos warm in a low oven if you are making a large batch.
  8. Serve with toppings and consommé: Finely chop the remaining onion and cilantro. Serve the homemade birria tacos hot with fresh cilantro, chopped onion, lime wedges, and small bowls of hot consommé for dipping each taco. Enjoy immediately.

Nutrition

Calories: 520kcalCarbohydrates: 34gProtein: 28gFat: 28gSaturated Fat: 12gPolyunsaturated Fat: 3gMonounsaturated Fat: 10gCholesterol: 90mgSodium: 780mgPotassium: 650mgFiber: 4gSugar: 3gVitamin A: 15IUVitamin C: 20mgCalcium: 25mgIron: 20mg

Notes

You can make the birria meat ahead of time and store it in the fridge or freezer. Assemble and fry the tacos just before serving so they stay crispy. Use a slow cooker, Instant Pot, or stovetop depending on what you have.

Tried this recipe?

Let us know how it was!

Leave a Comment

Recipe Rating